Create Single User
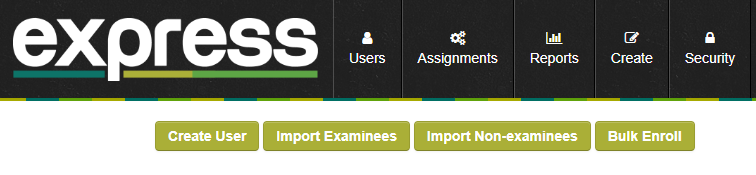
Click Create User (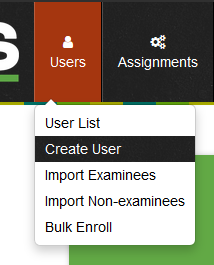
Step 1: Choose Create User. Alternatively, choose User List and click the Create User button at the top of
User List page)Enter name in the ‘User Name’ field. This is thethe page that follows.
Step 2: In the User Name field, enter a unique login name to be assigned to
athe user.
When a correct username has been entered, clickNOTE: Once the username is created, it cannot be changed. Click Continue.
Step 3: Complete the fields with the required information (Fields marked with an * are mandatory):
- Role Assignment: This defines the type of user (and the type of access they have). Click here for detailed role descriptions.
Step 4: Click ‘Save’ at the bottom of the page to complete. Clicking ‘Cancel’ will take you back to the User List. No information will be saved.
NOTE:
- A valid username should have no spaces, at least 6 characters and must not contain the following characters: < > \ " ' % ; ( ) & .
- Once the username is created, it cannot be changed
Import Multiple Users (Using the CSV Batch Import Tool)
Adaptera Express Import Process.pdf
The batch import feature provides a flexible examinee onboarding process. Any attribute can be imported and will automatically be available in under the examinee’s profile.
Import Examinees (CSV Examinee Import Tool)
Step 1. : Click on on the Import Examinees button
Step 2. : When the First Row as Column Names box is unchecked, four columns of data are allowed only by default and . The data must be arranged in order of:
User Name,Password,First Name,Last Name
Step 3: Once completed, click on Import.
Import Non – Examinees (CSV Express User Import Tool)
Step 1: Click on Import Non-examinees
Step 2: When the First Row as Column Names is unchecked, only five columns of data are allowed and must be arranged in order of:
Role,User Name,Password,First Name,Last Name
There are five possible roles for non-examinee users and must be typed exactly as shown:
- admin
- siteadmin
- reportadmin
- assignmentadmin
- proctor
Import Users with Attributes
To import users with attributes (custom information (attributes), the ‘First Row as Column Names’ box of the respective CSV Tool needs to be checked, and custom column headers may be added as follows:
Example:
:
Import Header Example (For Examinees):
User Name,Password,First Name,Last Name,Email,Site
Import Header Example for non - examinees:
Role,User Name,Password,First Name,Last Name,Email,Site
IMPORTANTImportant things to remember when importing data:
|
Importing a very large number of Users (>10)
Step1: Open a new Excel file/sheet.
Step 2: Add the examinees and their corresponding data in the Import Tool specified format. If needed, copy the Import Tool headers to the top of the Excel sheet and add custom attribute headers.
Step 3: Go to File > Save As and choose .csv file from the 'File Type' dropdown and exit.
Step 4: Now, open the CSV file using Notepad or Textpad and copy the data. Paste this in the Examinee/Non-examinee CSV Import Tool field on Express.
The process above removes the spaces (when trying to copy and paste data directly from a CSV file) and automatically inserts commas.
CREATE USER ROLE & PERMISSION REFERENCE TABLE
NON EXAMINEE
EXAMINEE
Organization Administrator
Site Administrator
Proctor
Assignment Administrator
Reporter/Report Administrator
Organization Administrator
✔
✔
✔
✔
✔
✔
Site Administrator
x
x
✔
x
✔
✔
Assignment Administrator
x
x
x
x
x
x
Reporter/Report Administrator
x
x
x
x
x
x
Proctor
x
x
x
x
x