...
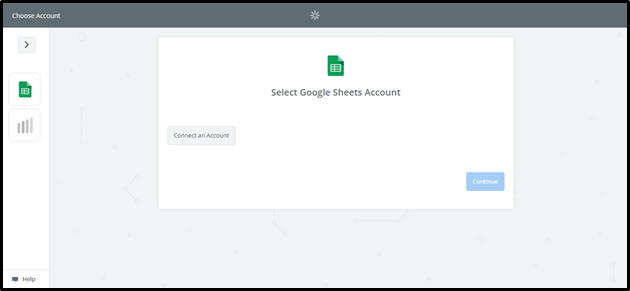
Once the trigger has been selected, you must connect your Google account. Clicking “Connect an Account” will populate a new window where you will enter your Google account information. If the window does not appear, check your browser pop-up settings.
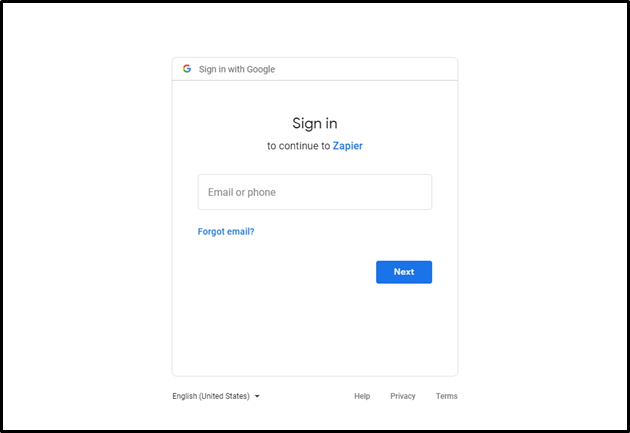
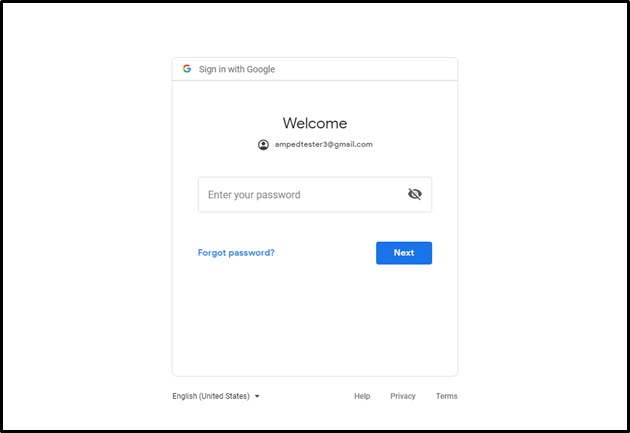
Enter your Google email or phone number and click “Next” to enter your password.
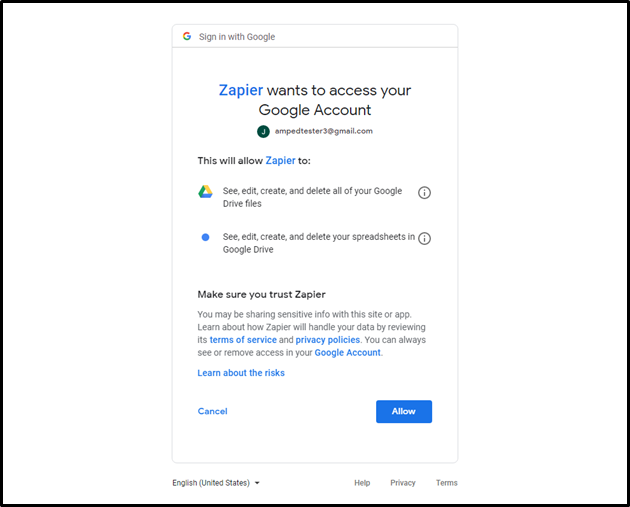
Once your Google account information has been entered, click “Allow” to let Zapier access your Google Account.
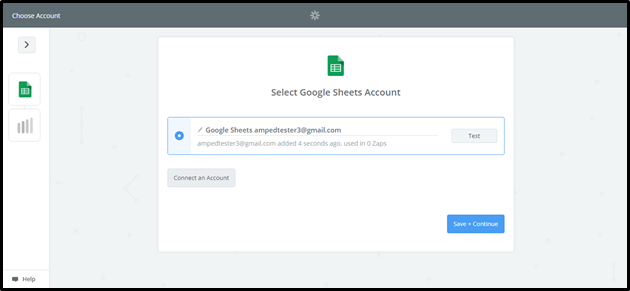
To make sure your account is connecting, you can click “Test”. This will send a quick test to ensure the connection.
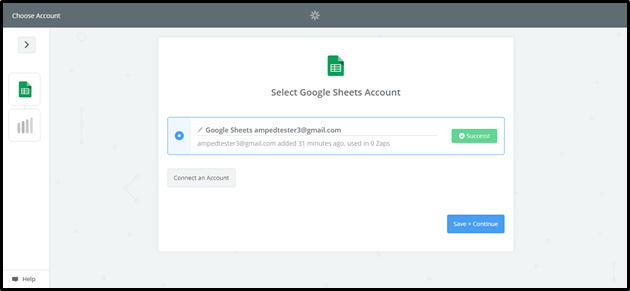
If successful, you will see a green “Success!” notification. Click “Save + Continue” to move forward.
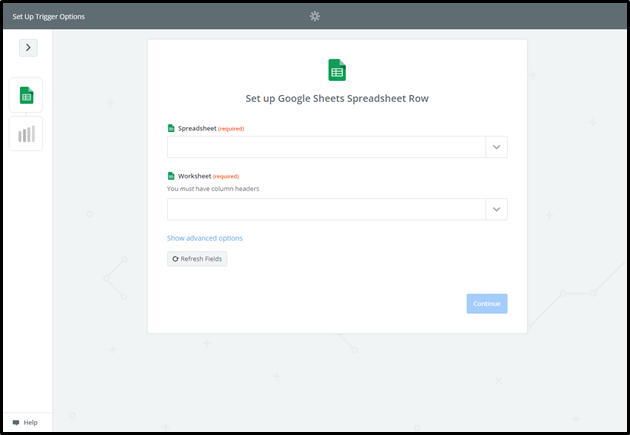
Next, you will need to choose the Google Spreadsheet and Google Spreadsheet row you would like Zapier to leverage. Once you have selected your Spreadsheet and Worksheet, click “Continue”.
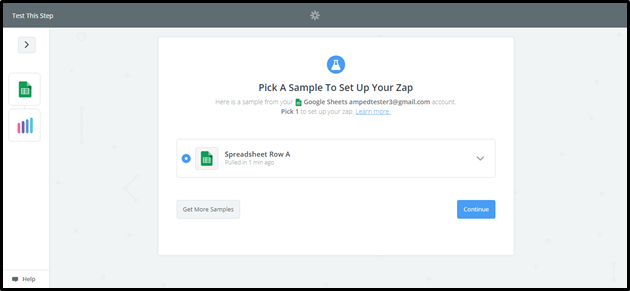
Next, you will need to select a sample to setup your Zap. When you have a sample Spreadsheet Row selected, click “Continue”.
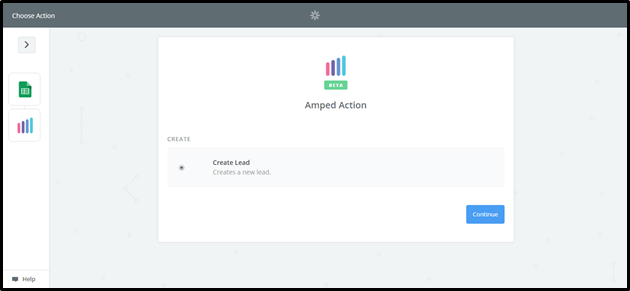
Now you will be prompted to select your AMPED action. “Create Lead” will be automatically selected in this template. Click “Continue” to move onto connecting your AMPED account.
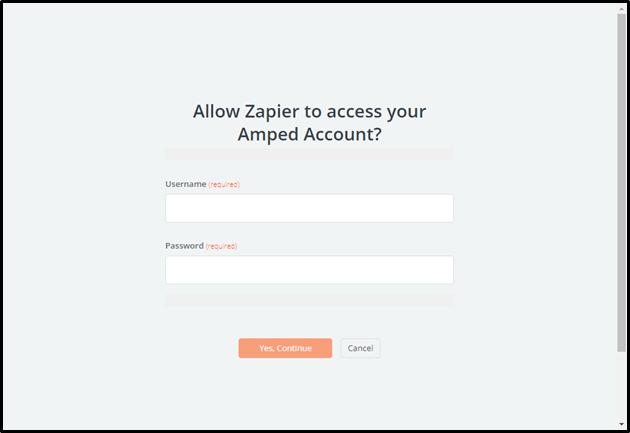
To connect your AMPED account, add your AMPED username and password and click “Yes, Continue”.
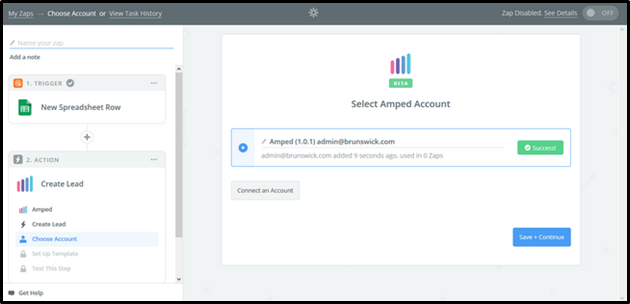
Once your account has been connected, you will see a green “Success!” notification. Click the “Save + Continue” button to move onto the next step.
Now you must select which fields to map from your Google Spreadsheet to AMPED. Click on “Show advanced options” to see all available fields to select.
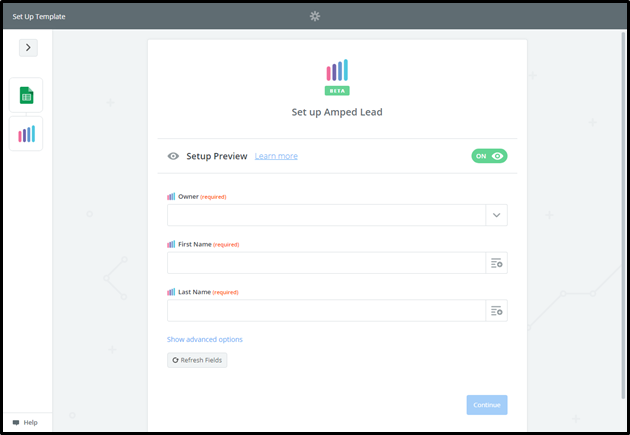
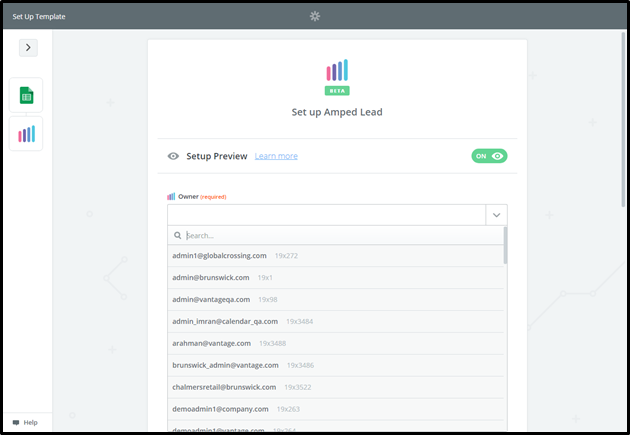
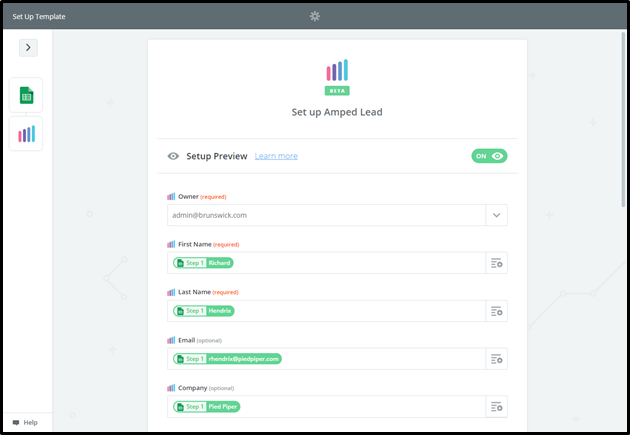
Every owner within your AMPED site will be available to select unless other permissions have been established. Select the owner you want the new leads to be assigned to and then map the remaining fields below.
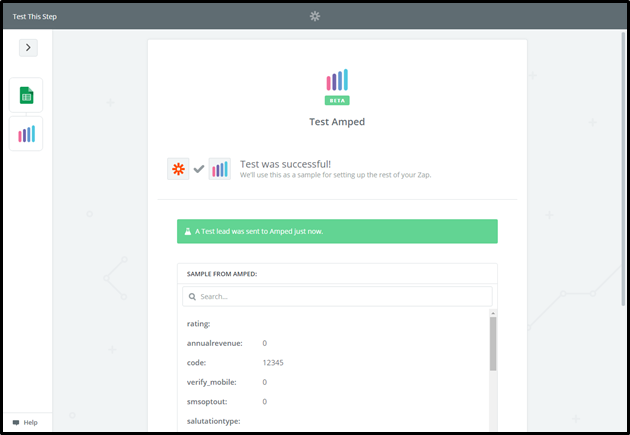
Once the field mapping is confirmed, you can test your zap. Click “Send Test to AMPED” to push a test lead from your Google Spreadsheet into AMPED.
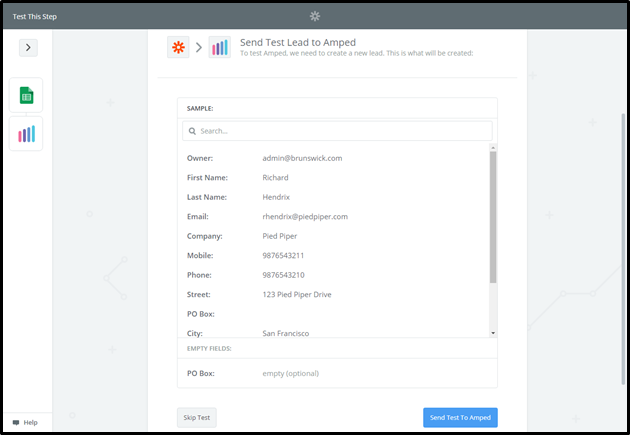
You will see a “Test was successful!” notification when the test zap has been executed. You can also check in AMPED for the test lead.
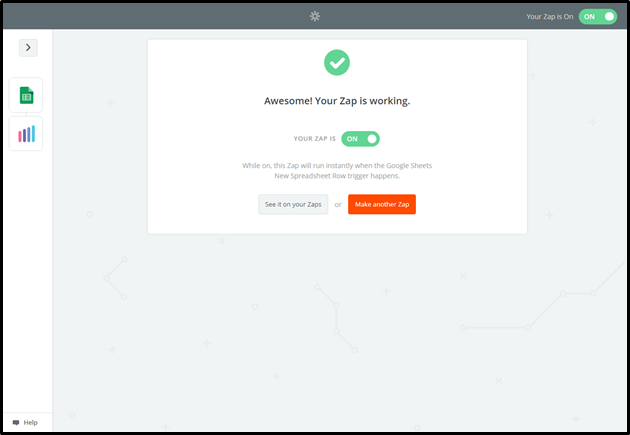
Clicking “Finish” will complete the Zap and turn it on. Congratulations! You have now configured your Google Sheets-AMPED zap! Now you can automatically add new Google Sheets rows to AMPED Leads.